My Attempts at Tyre Walls : 2014-15
Back in May 2014 I decided to start experimenting with the building of tyre walls for use in my Aquaponics projects, and then later to include in Permaculture designs.
At first I had a some grand ideas of excavating into a hill and constructing a 60 metre long retaining wall that would have been about 3 metres high with a view to building an earth sheltered greenhouse for housing a large Aquaponics system.
But then on thinking about the scale of the build I decided to do a pilot and experiment with the various methods.
When researching about tyre walls and rammed earth construction most websites talk about building in "dry" climates so I found that information not so useful for the UK.
There are others in UK who have tried it, but I did not find much of practical detail from them on the web.
So that is why I started my own practical experimentation.
Key Learning Points.
First of all its very hard heavy work and takes much longer than you would think !
For example just 1 cubic meter of consolidated earth will weigh aprox 1.7 tonnes.
But seriously - think of building tyre walls like doing traditional brickwork or drystone walling and emulate the basics that make them viable safe construction methods.
Key points I found from practical experience with lots of trial and error:
So I'll now describe and illustrate how the project progressed....
For example just 1 cubic meter of consolidated earth will weigh aprox 1.7 tonnes.
But seriously - think of building tyre walls like doing traditional brickwork or drystone walling and emulate the basics that make them viable safe construction methods.
Key points I found from practical experience with lots of trial and error:
- Ensure a level and sound foundation.
- Where possible use tyres of the same size (width & depth).
- Ensure to ram the earth as tight as possible especially into the edges of the tyre.
- Keep to a minimum any organic matter in the earth fill.
- Check levels on each row and that the tyres are not angled/sloping.
- Offset tyres on each layer (brick pattern) do not just stack as that is much weaker and will be unstable.
- Bond every few the layers for extra strength (2 or 3 runs of barbed wire).
- To strengthen the vertical hammer metal rods (or hardwood) down through at least 3 layers (especially at the ends of a free standing wall).
- For a retaining wall build vertically setting back slightly each course to improve stability.
- In a wet climate consider incorporating drainage to prevent earth fill washing out.
- In base layer add gravel, rouble, and glass to earth fill to reduce access to rats etc.
- As a damp proof course make in an above ground layer by filling with rammed stone such as slate.
- Prevent rain erosion on the top layer by covering.
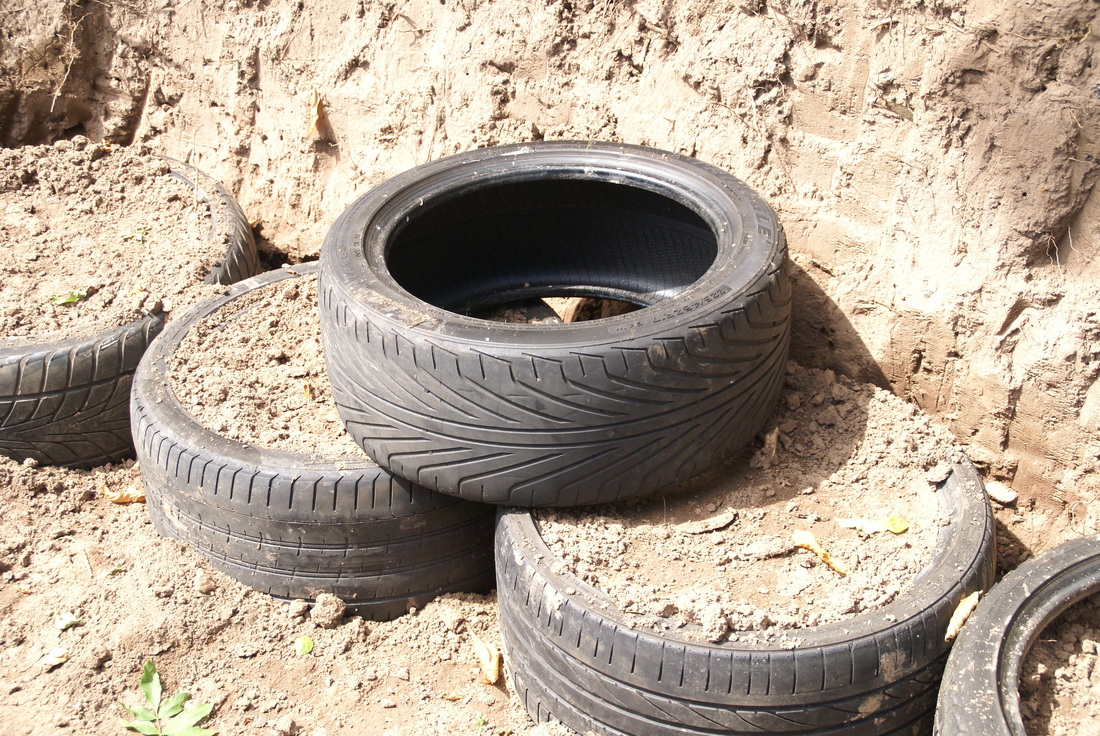
- For vertical wall do not use "low profile" tyres as the earth runs out too easily, but they are OK for the sloped retaining wall as the set-back avoids that issue.
So I'll now describe and illustrate how the project progressed....
NOTE:
Some people voice concerns about possible "toxins" leaching out of the tyres, but as its using all old tyres (usually at least 3 years old) then any volatile chemicals have already gone during the period of road use when exposed to the elements and sunlight.
So when we come to use the tyres for construction what is left in the rubber compound is the carbon (black dust) and the nylon and steel bands. Also the fact of filling and covering the tyres with earth protects the tyres from further decomposition due to sunlight etc.
Selecting the build site
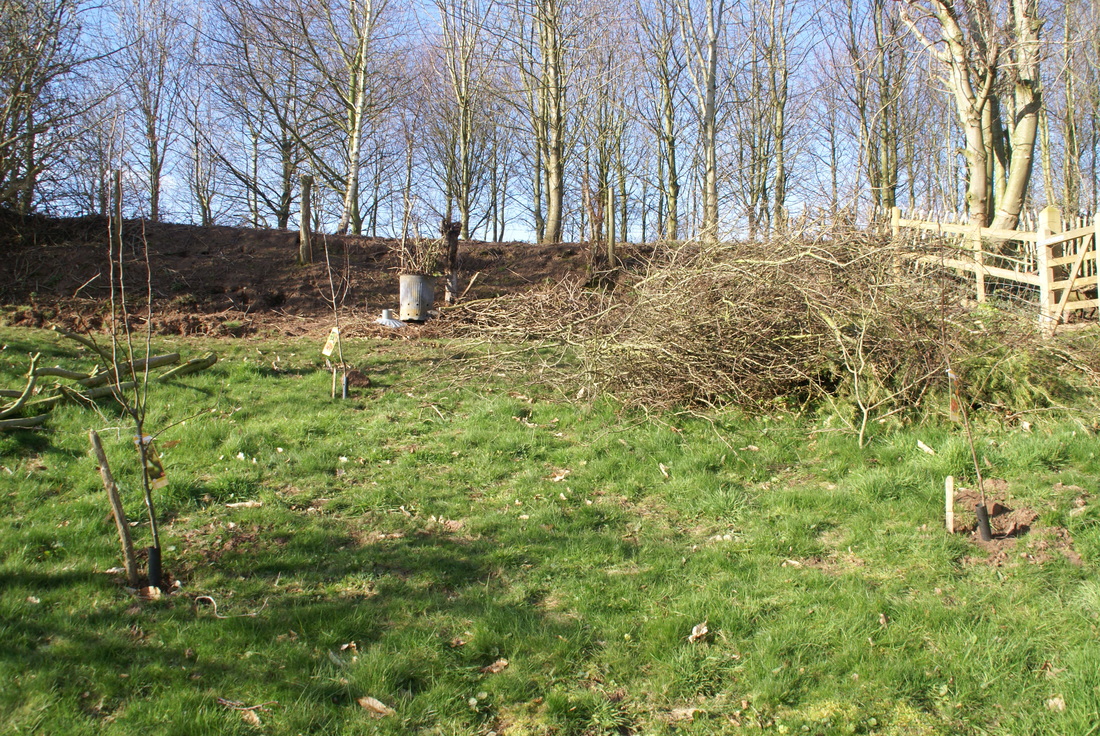
For the building of the pilot wall and experimenting I selected a site with a similar slope to the original site, but this one was much closer to the house and so would visible to neighbours who would object to any unsightly workings. So to screen the site as much as possible it was decided to build the tyre wall in the corner of the field where the orchard and other trees would screen the site from most of the neighbours.
Additional benefits of that location were that it would open up for use a very scrubby slope, its south west aspect and soil composition is almost the same as the original plot, and being close to the house is ideal for experimenting in short spinets of free time and can be observed easily over an extended period.
Additional benefits of that location were that it would open up for use a very scrubby slope, its south west aspect and soil composition is almost the same as the original plot, and being close to the house is ideal for experimenting in short spinets of free time and can be observed easily over an extended period.
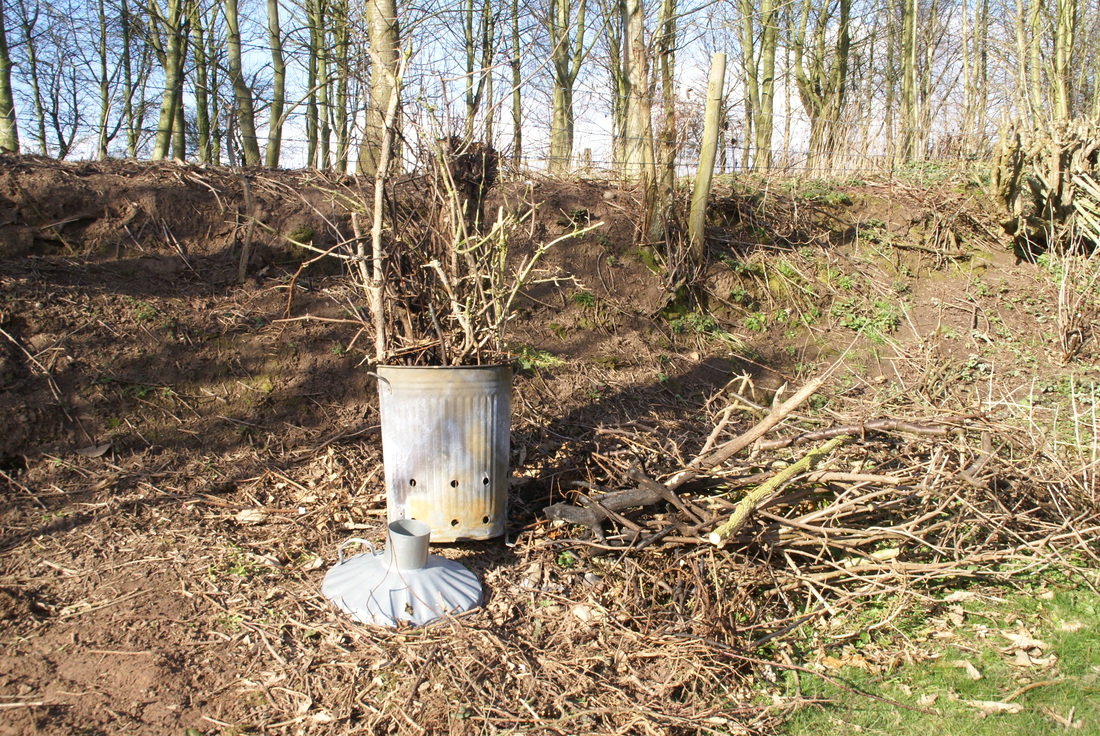
Clearing the ground
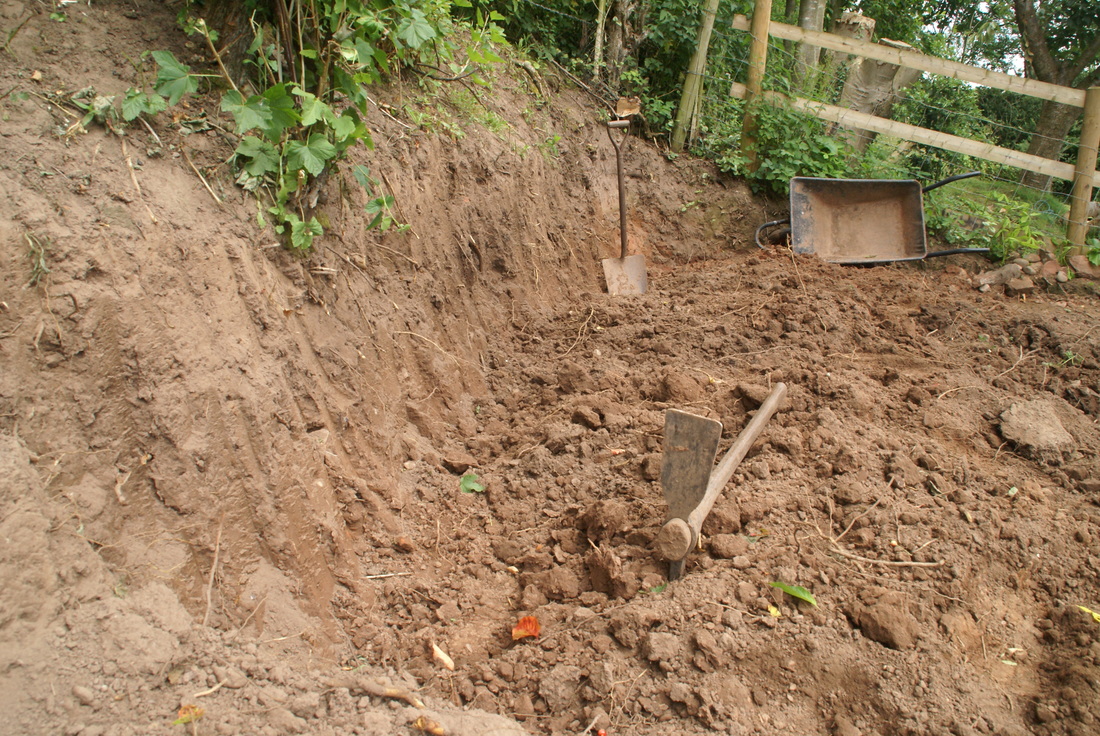 | The slope was about 30 degrees on a site that is 20 metres long by 3 to 4 meters wide, and the max cut in depth to be 1.5 to 2 metres. Calculating the amount of earth to be dug out was quite a shock. The approximation was for 52 cubic metres of earth where just 1 cubic meter of consolidated earth would weigh 1.7 tonnes. So there was aprox 88.4 tonnes to move. |
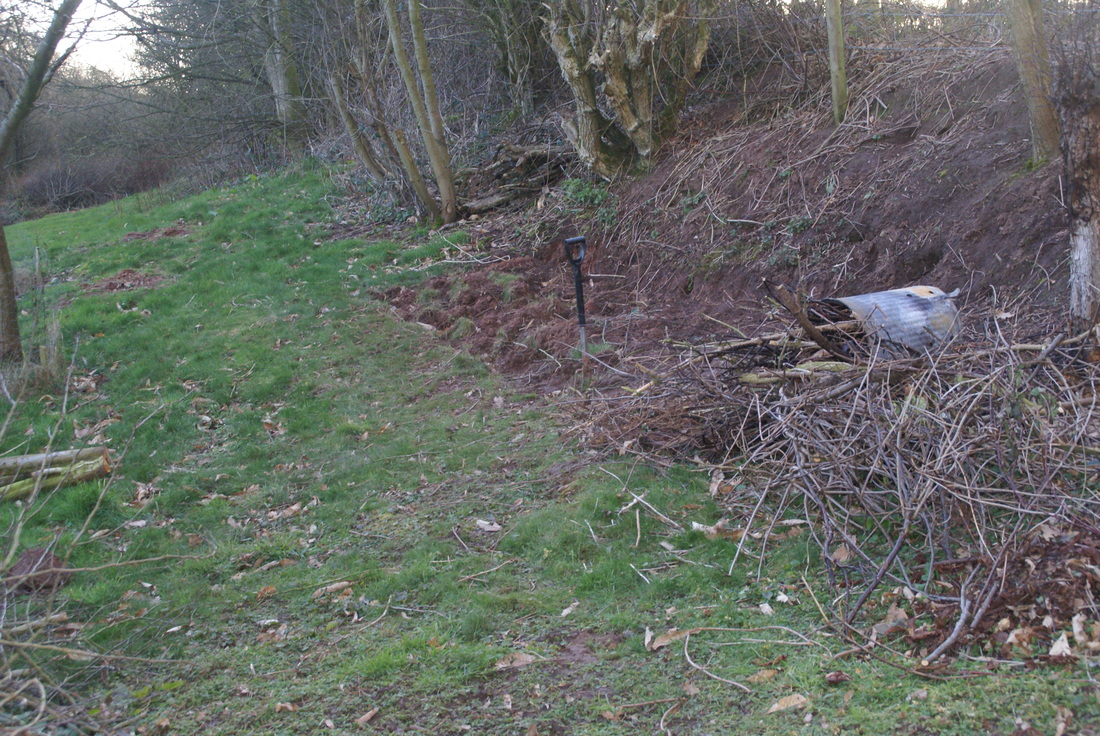
Laying out the foundation
| As with traditional construction its important to ensure a level and sound foundation. Digging down over 1.5 metres went into hard compacted subsoil layers that needed pick-axing so there was no doubt that that the foundation base was firm and stable. The key thing at this stage was to ensure it was level and clear of all obstructions. | 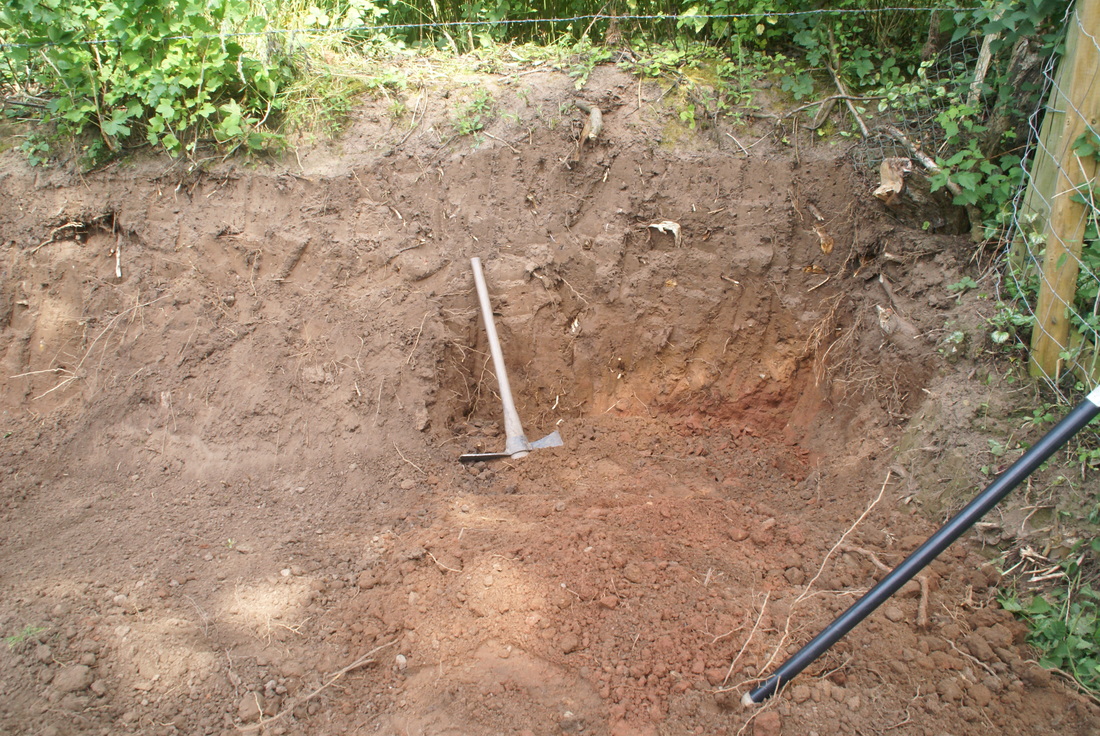 |
 | Then its checking how many tyres high it will be so that the lean of set back slope can be worked out, and then any excess earth removed. |
| Next task is to lay out the first base layer of tyres to see how many are needed per course/layer. Where possible use tyres of the same size width and depth to create uniform courses. | 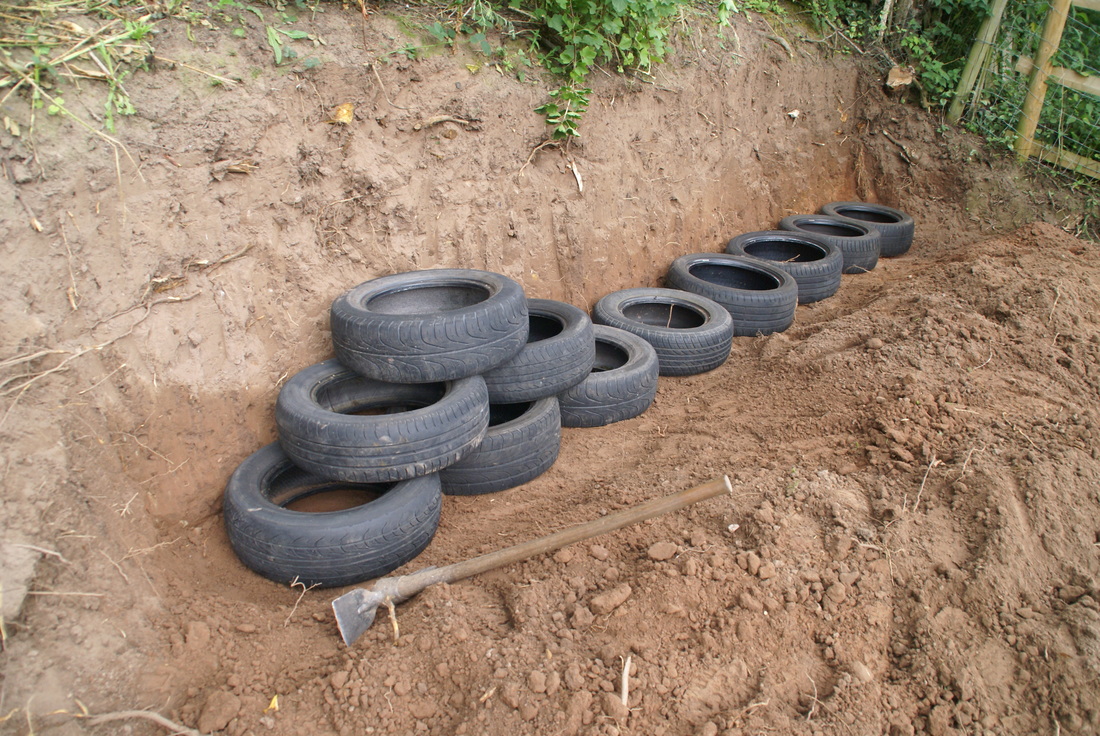 |
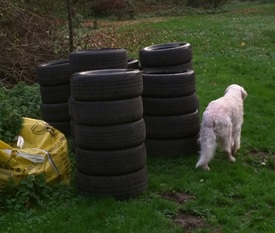
This is a good time to sort the stock of tyres into size groups, and find a place to have them stored conveniently close to the build.
Rammed Earth Fill
Filling the tyres with earth and ensuring its rammed in as tight as possible especially into the edges of the tyre is quite time consuming and strenuous work.
So for planning and time schedules I would suggest allocating 1 hour per tyre to get it in place and properly rammed and levelled.
So for planning and time schedules I would suggest allocating 1 hour per tyre to get it in place and properly rammed and levelled.
 | Keep to a minimum any organic matter in the earth fill as this will only cause problems in the future as it rots down in damp conditions. In base layer add gravel, rouble, and glass to earth fill to reduce access to rats etc. If a damp proof course is required make it in an above ground layer by filling with rammed stone such as slate. |
| I found it important to check levels on each row and that the tyres are not angled or sloping. As this is a retaining wall its build setting back slightly each course to improve stability. As in standard wall construction offset tyres on each layer (brick pattern) do not just stack as that is much weaker and will be unstable. | 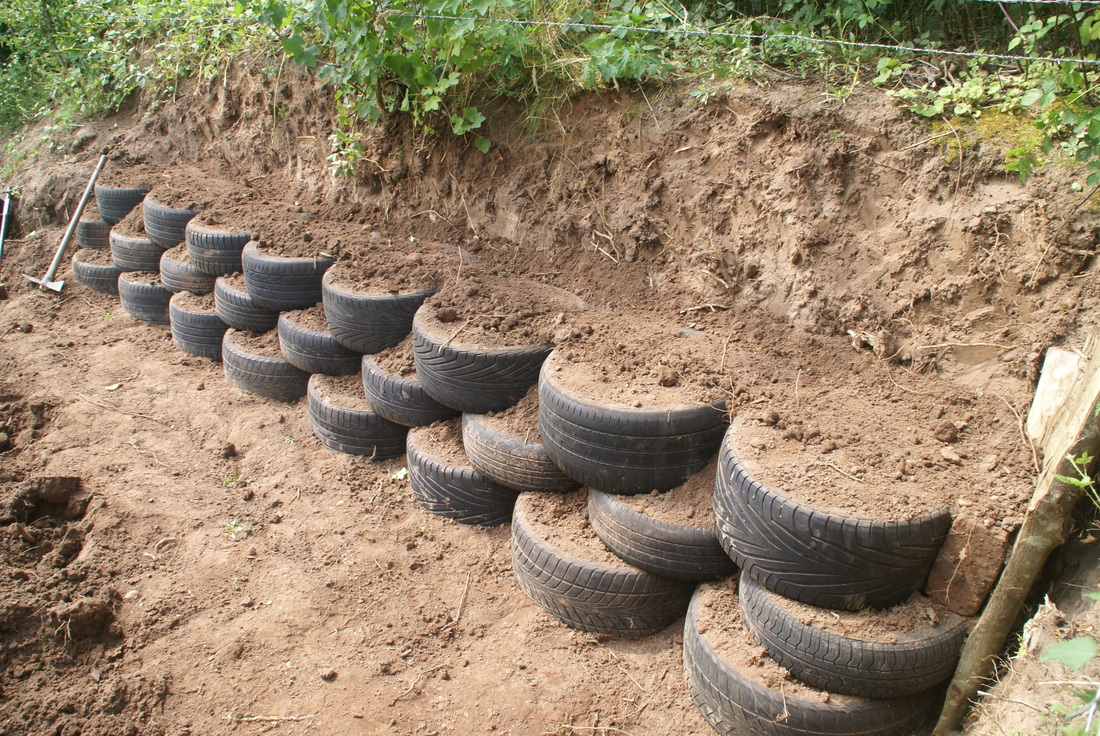 |
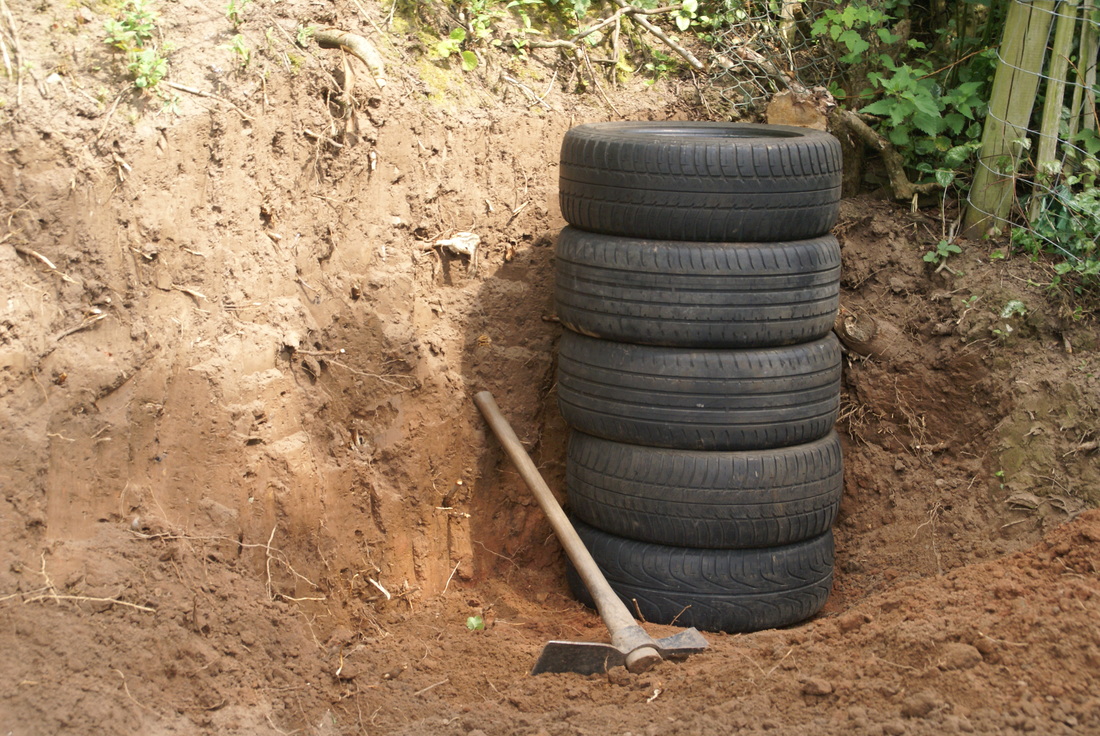
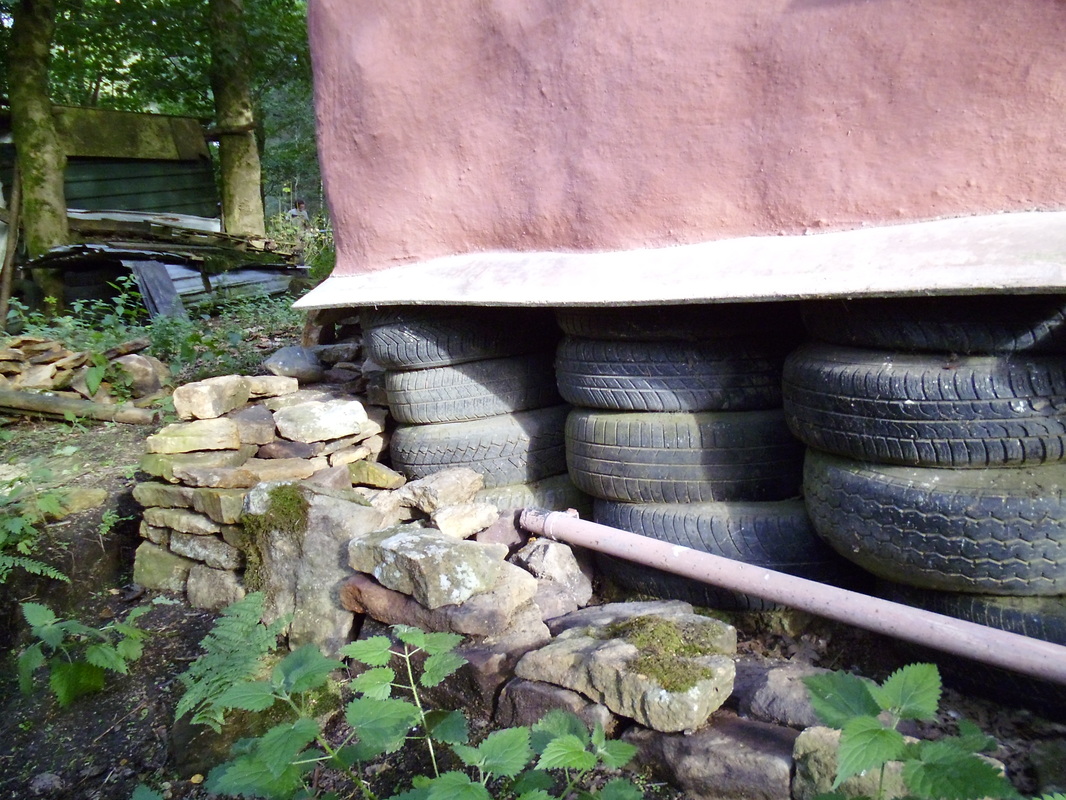 | Whilst researching what others had done, and visiting sites in the UK, I came across this example where the tyres had been used for the foundations of a cob round house built on sloping ground, but they had done it by stacking them vertically in towers. I was not able to find out why, but I'd not recommend doing it that way. |
When the wall is 4 or more tyres high you will need to strengthen the vertical by hammering metal rods (or hardwood) down through at least 3 layers. This is especially important at the ends of a free standing wall.
For further stability it can also be worth bonding every few the layers for extra strength by insetting 2 or 3 strands of barbed wire, as is done in earth bag construction.
For further stability it can also be worth bonding every few the layers for extra strength by insetting 2 or 3 strands of barbed wire, as is done in earth bag construction.
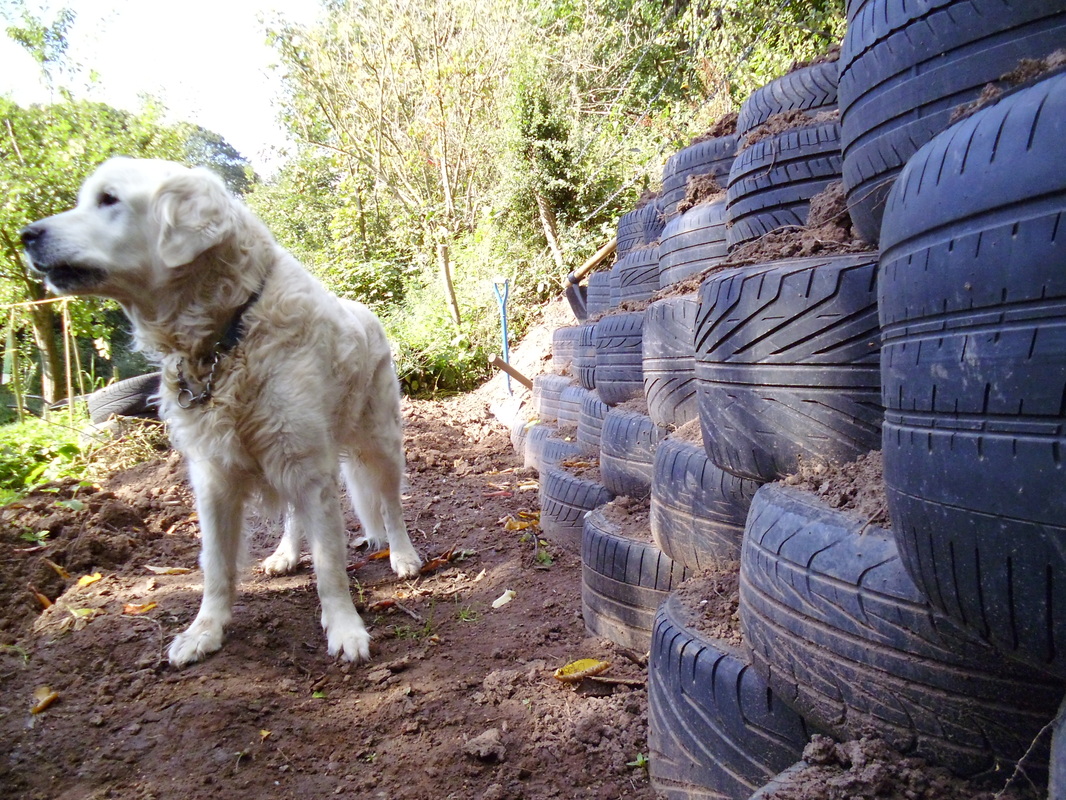
Reflecting on 18 months work

The reworked wall's stability has survived the rigours of a wet winter and me walking up and down it many times to get into the other field.
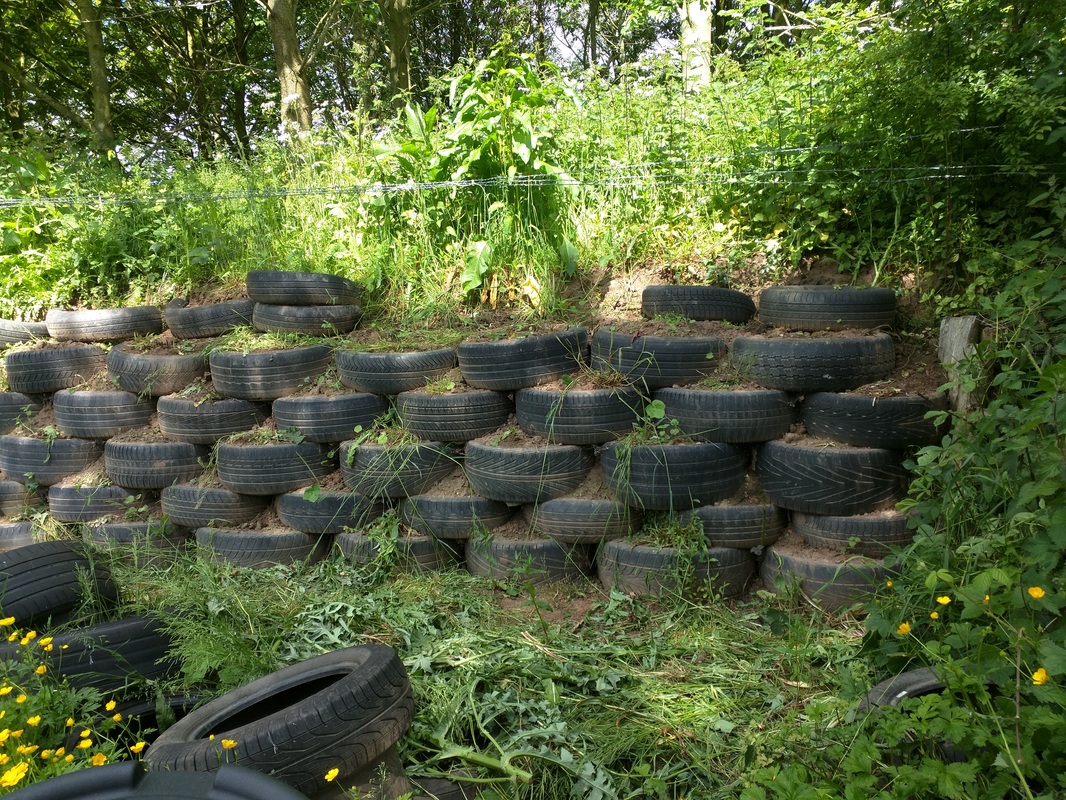 | And with only minor weeding is now looking in good condition - even if covered in the autumn leaf fall. |
I must have been mad to consider manually digging out by hand all on my own - for any future project of this scale I'd seek to get a mechanical digger and a team to help fill the tyres.
At a rough calculation the weight of earth per average size of tyre used on this is 140 Kg so for the 72 tyres in the build there was at least 1 tonne of earth needed that had to be manually dug and moved into place for filling the tyres.
At a rough calculation the weight of earth per average size of tyre used on this is 140 Kg so for the 72 tyres in the build there was at least 1 tonne of earth needed that had to be manually dug and moved into place for filling the tyres.
| The next design is to use this tyre wall as the back supporting wall and heat-sink of a lean-to greenhouse - more to come on this. | 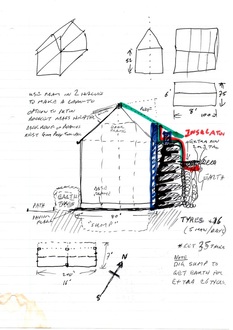 |
 RSS Feed
